Friday, May 27, 2011

Card for my Sis

All better but been sooooo busy

Got better from sinus infection and then was busy busy busy with Family Reunion prep.  It turned out so great and I got to spend time with special family members who traveled far to be here.  I was so swamped in making things for the raffle to just the general planning and setup of it all.  Every single second I spent was so worth it and the love and smiles I saw in my family that day said thank you better then any words could.  I am so thankful that all 11 of us still living were able to be there and enjoy this great big family of ours.  I hope to have one again someday, but it would sure be hard to top, lol!!!

So today I am finally able to get back to a little crafting so I wanted to make my Sister a handmade card for her Birthday in a couple of days.  I got the Idea for my card from my Cardmaker Magazine the card was by Colleen Schaan.  So Inspired from hers I created this one for my Sister.


Wednesday, May 4, 2011

Been soooo sick (Sinus Infection)

Man it has been a loooong MISERABLE week.  After spending a week on the couch thinking I was fighting a cold or flu I finally went to the doctor yesterday because I couldn't stand the pain in my head anymore.  Turns out I have a severe sinus infection, man will I be glad when the medicine can help me to feel human again.  I am far from better right now but at least I can see, lol.  My Hubby was awesome and took care of me through all of this, I feel so lucky to have him and appreciate him so much.  I have so many things to get done before the Family Reunion coming up on the 21 of this month.  For the next few days I may only get a little done each day but I am very thankful to be able to do anything after what I have just been through.  I recieved my order from Hallmark Scrapbook while I was sick and long to play with my new cartridges as soon as I can.  I did want to share with you all what a great deal I got from them and great delivery service as well.  I purchased 4 new cartridges at $19.99 each, these are full image cartridges some with fonts too.  As soon as I get caught up around here I will love to share some new projects with them.  I got Cindy Loo, Country Life, Just Because Cards & Everyday Paper Dolls.  I am looking forward to each of them.  Just when I get caught up though I should be recieving my Cricut Expression 2...ohhhh so excited that if I weren't this miserable right now I would be dancing...lol.  Enough talk I have plenty of work to do including a mess of a house to clean, Hubby's can't do it all I guess...darn it lol.  

Wednesday, April 27, 2011

Spiderman Name Plaque

I made this for my Grandson Dustin, he is gonna love it.  Originally I had planned on making him one with Pooh Bear because I just found the Pooh and Friends Cartridge at Jo-Ann's for $18.99 a couple of weeks ago and couldn't pass it up.  I will have to use it soon for something else.  So after painting the plaque blue all I could think of was how cool a red and black spidey face would look on it and Spiderman is his favorite character.  I thought I would do a quick search for a svg and see what it came up with...wow I found the perfect file over at Everyday Little Things, this is exactly what I wanted.  If you use cut files, you will find some great ones on her site.

I took the spiderman face svg into my Sure cuts Alot 2 and sized it on my mat to the size I needed.  I then copied and pasted a second face onto my mat so I could break apart the image and move the pieces I wanted onto other sections of my mat for the different colors I needed.  I cut the first full svg out in black vinyl, the eyes in white cardstock and the outline of the face in red paper all on my Pink Cricut Expression.  Super easy and super cool result.  I used my Pink Xyron 1.5 inch X sticker maker for the eyes to easily stick.  I layed the black vinyl cut with backing still on over the red backing, once lined up good I placed each sticky backed white eye into place and then the hardest part...removed the backing from the vinyl.  Once removed I carefully lined it up on the red backing piece using the eyes to help line it up and voila...Spidy was created.  I found some black letter stickers to add on his name and Room.  after affixing the letters in place I mod podged the spidey face in place and then went over the entire plaque to seal everthing in with mod podge.  I use the gloss Lustre & Love It.  I am looking forward to seeing his face when I give it to him.  He saw it over the weekend but it was just a plain blue plaque at that point and I told him I was going to put pooh Bear on it and his name.  I know he will be much happier with Spiderman.  Thanks again Christy from Everyday Little Things for such an awesome free svg file, I am sure I will be using much more of your awesome svg's in the future.

Ordered my new Cricut Expression 2...so excited

I already have the Pink Expression but the new enhancements they have made to this new edition are awesome.  I did the free shipping thing so I have a long wait until May 16 to get it, but it will be awesome and well worth the wait I am sure.  I also recently bought some new cartridges on sale.  I should be recieving those any day now...lets see I have 4 of them on the way that I found for $19.99 each...awesome deal.  I bought Just Because Cards, Cindy Loo, Everyday Paper Dolls & the Country Life cartridges.  I am super excited to use them all...lol.  Looking forward to sharing some new Creations very soon.  Have a great day & Happy Crafting to you all.

Monday, April 11, 2011

Masculine Birthday Card for a guy

I made the card on black card stock.  I took a soda can, washed it dryed it and cut the ends off.  Once I had a nice flat piece of aluminum I ran it through my cuttlebug with the Diamond plate folder.  I used a rectangle piece of patterned paper to layer on the bottom.  The pattrened paper and the red I used for the frame is from My Mind's Eye - Bohemia paper stack.  Next I took some red ribbon from OTC and ran it through my Xzron machine and turned it into a sticky backed ribbon and placed it along the seam of the two layers.  I cut a frame out of the red paper using my Cricut and quick shapes on sure cuts alot.  finally I took a route 66 svg I got from MissVickieDOTnet, here is the link
http://cuttingcrazy.wordpress.com/2010/10/21/free-svg-file-customizable-interstate-highway-signs/ 
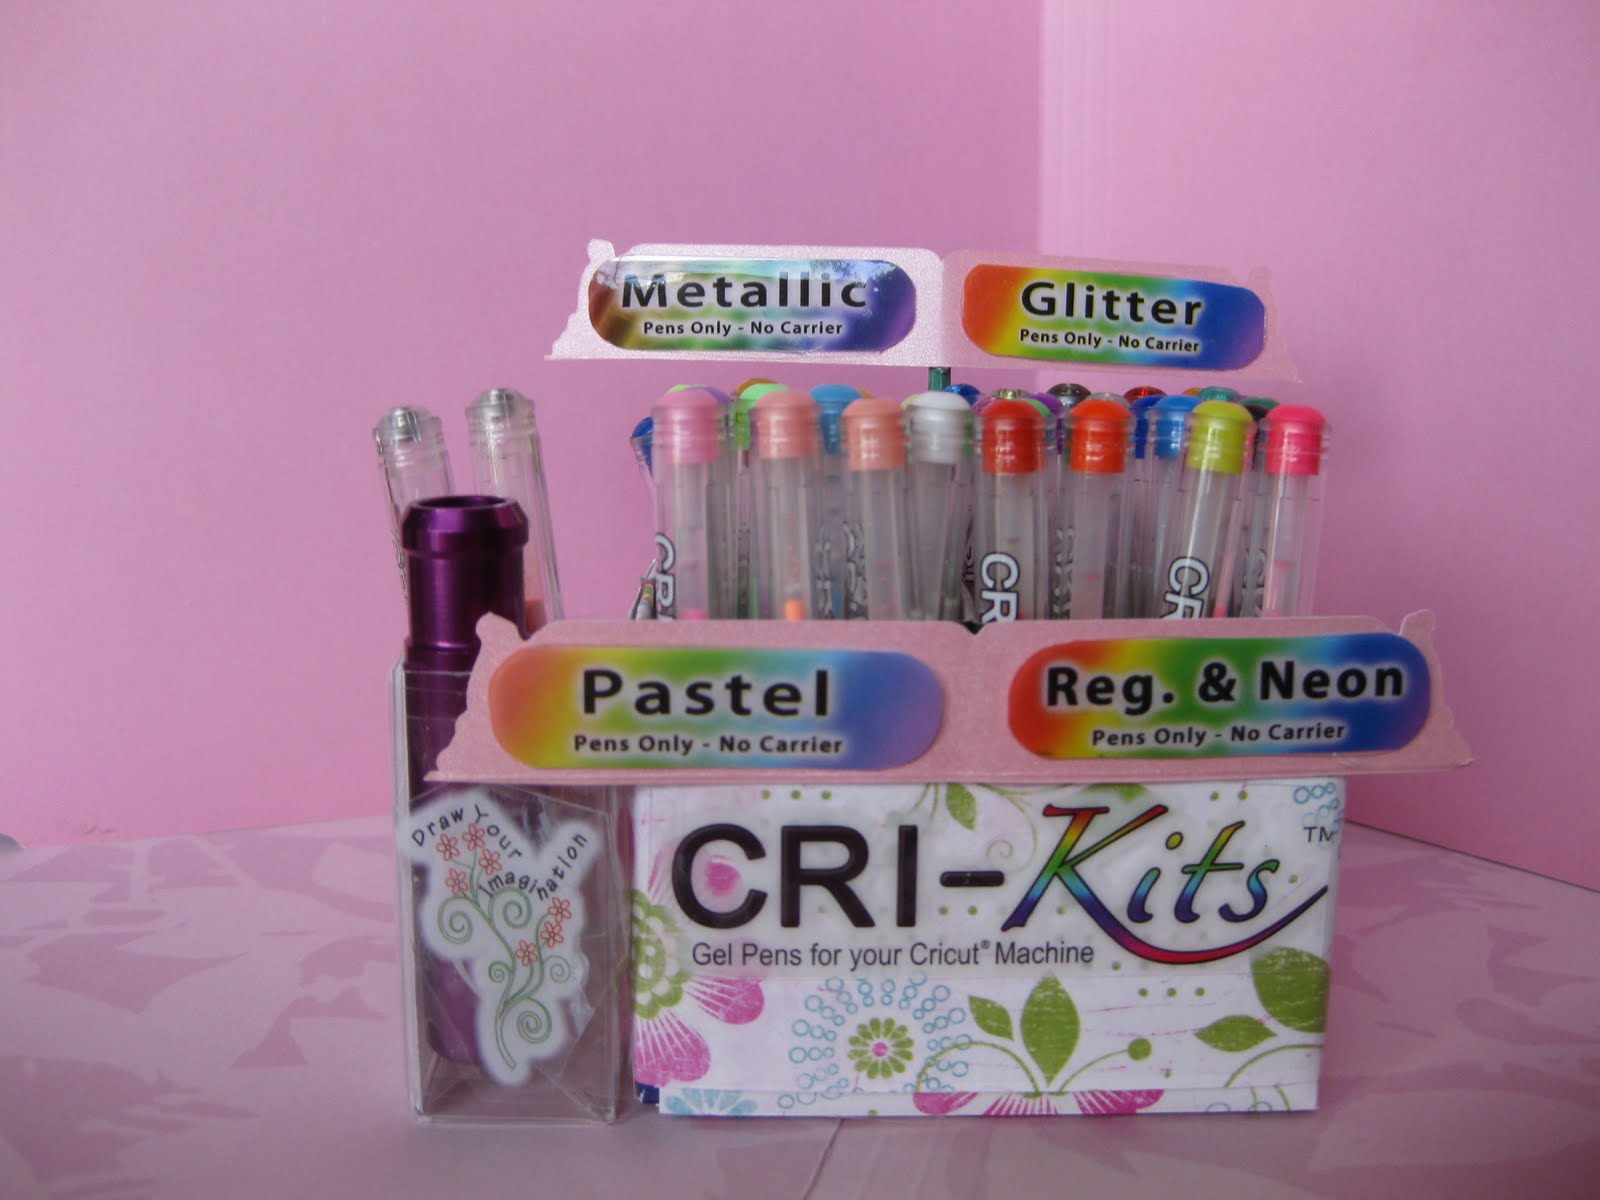
and I removed the outer edge.  once I had the sign in place in SCAL I made a copy and pasted it on top, I checked the box keep proportions, then I made it a little larger around the first one.  I sent that cut file to a second page in the exact same place and deleted it from my 1st page.  I typed in the word Happy Birthday with the Bradley Font.  I loaded white card stock into my Cricut and changed out the blade to my new Cri-kits black gel pen.  I made sure to adjust my settings to pressure 3 and speed 2.  I chose cut and let my Cricut draw in the details.  after it finished I hit load paper on my Cricut and changed to page 2 of my SCAL.  I now had the outline to my sign only showing, I changed out the gel pen  back to my cutting blade, adjusted my settings and hit cut in SCAL.  I chose to make the sign white and black lettering like the old route 66 sign.  It was too cool to first draw the details and then cut around it to make my own sign embellishment.  I added some cute brads that look like a screw from OTC and popped the sign up on popdots and that finished of this simple masculine card front.  Now for the inside...
So here is the inside of the card...I used the inside cut of red paper from the frame that I used for the front of the card and on top of that I layered a sentiment I created in Craft Artist.  I used some tool embellishments and a screw frame from a digital kit called Oh Boy from Linda Lou to create this and then printed out on my printer and cut out.  I also made an envelope and a liner to match using my Martha Stewart Score board.  I think I will try out making a video soon on how to use this awesome tool, it is very handy indeed and I will never need to buy envelopes again.

Sunday, April 10, 2011

Hi Card for Card Swap

I finished my first set of cards for the Card Swap I am in...Fun Fun Fun...The Papers I used for this card were from Prima - the Breathe Paper Collection.  I mostly used my paper trimmer for this card and my Crop-A-Dile corner chomper to round the corners.  On the Cricut, the only things I cut were the word HI & the layers for the top flower.  I used the 6 petal flower and cut in normal & again in Shadow Blackout.  The circle on top I just used simple shapes in Sure Cuts Alot.  Here is the link for the free 6 petal flower svg from Heather, you also get a 9 petal flower.
http://imagesbyheatherm.wordpress.com/2010/08/26/6-and-9-petal-flower-svg-files/

I used 1 of my new Cri-Kits gel pens for the inside sentiment...
I used the Blue Glitter pen...omg!!!  So Awesome!!!
Makes me love my Cricut EVEN MORE!!!

The font I used for this sentiment was Angelina.  I wish the camera could show a better view of the glitter.  It is perfect and the little white skips you see is really the glitter...it did not skip at all.  I did 6 of them in a row for this sentiment using the same pen and not one skip.  Wow I am so impressed with my new Cri-kits Gel Pens!!! YAY!!!

Saturday, April 9, 2011

My Cri-Kits Pen Holder

OK...so I made this little divided organizer for my new Cri-kits gel pens, and here it is all filled up.  Now I am ready to try them out...time to make a new card.  You should also make sure you store your gel pens upside down to keep the ink flowing evenly and always keep your caps on tight. 
For your Cricut machine settings when using your gel pens:  Pressure 3 & Speed 2

Yay!!! My New Cri-Kit Gel Pens are here


I am so excited...I finally broke down and ordered the Sure Cuts Alot 2 program...Wow, why did I ever wait sooo long?  It is so awesome!!!  So when I ordered I also chose the option of buying the whole set of Cri-Kits Gel pens to work in my Cricut for $24 more.  That is a great value because they are about $60 to buy all of the pens and holder by themselves. this is what I got, the Pen Kit Bundle (All 40 Pens -  10 Pastel, 10 Reg. & Neon, 10 glitter & 10 Metallic + 1 Pen Holder + 1 FREE pack of 2 swirl pens).  I am so excited to try these out.  now I can draw in the lines and only cut out the outline...woo hooo.  My project today is to make a little pen holder for these awesome new little mini-pens to be close at hand near my Cricut.  I will share the outcome later :)  here is the link if you want to check out this great deal on the bundle I bought.http://www.craftedge.com/purchase/purchase.html
or go to http://www.cri-kits.com/cricut/cricut_pen_kits.html for further info on the pens from the maker and many other products they have come up with for the Cricut.
My only complaint is that one of my pens...the pink glitter...grrrr my favorite!  was not capped tightly before shipping and it lost most of its ink, darn it.  All of the others are perfect though and I cannot wait to try them out later.  I am thinking of making a card and using the Cri-kits gel pens to add my sentiment inside the card.  Right after I make that holder for them.

Wild Card Cartridge - LOVE IT!!!

I have made several more cards lately and will be adding them over the next few days.  I recently purchased the Cricut cartridge Wild Card...I love it.  I will be sharing some of those cards very soon.  I want to make a card from each design on the cart...that will take some time since there are 50 cards on the cart...lol.  Card making seems to be my new passion right now.   Oh and my upcoming Family Reunion of course.

Get Well Soon Pocket Card

I Love this card and was fun to make.  I got the pocket from http://cafexpressions.blogspot.com/2011/03/pocket-full-of-fun-free-svg.html
I just wanted a pocket for the front of my card to stick a tissue out of and this one was perfect...Thank you Cheryl Ann.  I used my Cricut Cartridge - Wild Card to make the envelope and liner to match the card.  I used another free svg for the get well soon, cut with a shadow layer as well from svg cuts.  Here is the link for that http://www.svgcuts.com/blog/2009/07/30/free-svg-sure-cuts-a-lot-073009-get-well-soon-caption/

I made the band Aid in Sure Cuts Alot 2 from the quick shapes and then I ran each piece through my cuttlebug with the Swiss dots folder and then layered them together.  I dont yet know how to add my svg files but I will work on that.  The flowers are just from my clear stamp collection.  They were in a set I got from my CardMaker kit of the Month club.  I pasted some small orange circles to bring in the bandaid colors and used some gold glitter glue from the dollar store to the center of each flower.  The cute square brads came in a kit from OTC and I used my white Opaque Stix, it is a water based pigment marker for the stitches around the pocket.  Hope you like it  :)